| description | sample | |
| a simple single tile, change UNITSIZE to rescale | 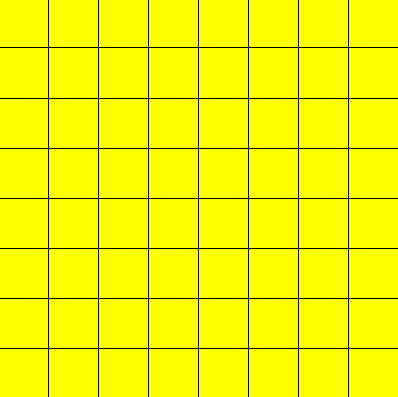 |
|
| single tile with an offset repeat to create 'brickbond'
Note: the line
rep 1 1 .5
this means the tiles are placed 1 unit across and down
but each row is shifted to the right by .5 unit
In this case the UNITSIZE is .5 so the tiles are 50cm in size | 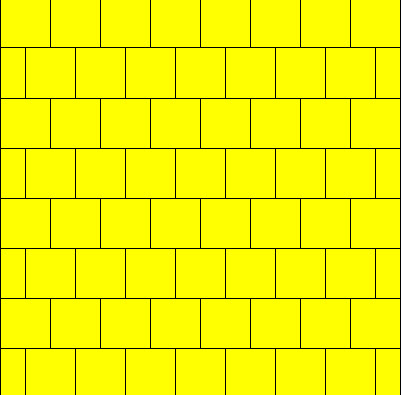 |
|
| checkerboard style using 2 colours
REP 2 1 1
tiles are repeated 1 unit across and down but each row is shifted to the right by a full tile
By applying COL green blue the checker board effect becomes visible | 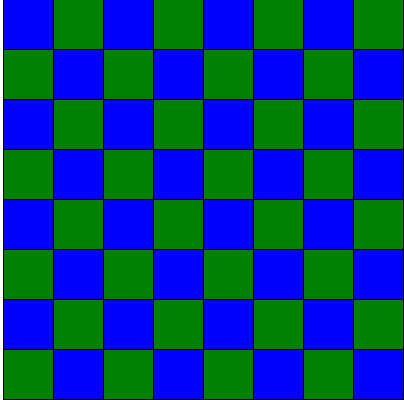 |
|
| CHEVRON length, thickness, angle , rows , cols
see the diagram for how the dimensions relate to the tile | 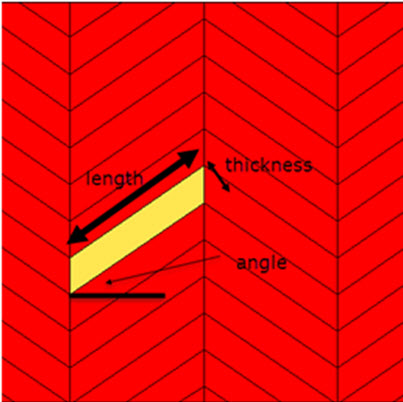 |
|
| Chevron design with colours applied to give a totally different effect | 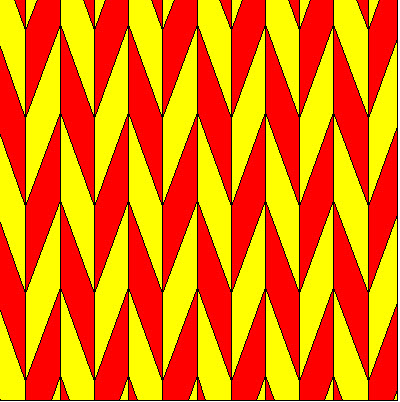 |
|
| A simple herring bone with
HERRING longest, shorter, rows , cols
rows and cols can be added to create different effects | 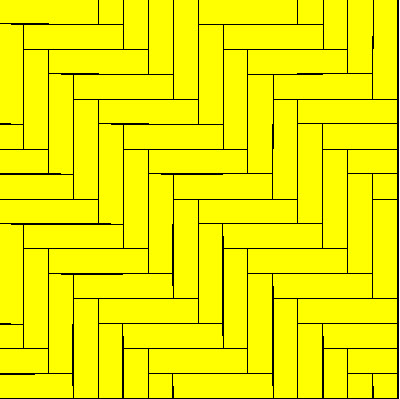 |
|
| adding the 'count' of 3 allows three different colour sections to be created
giving a totally different effect on the floor | 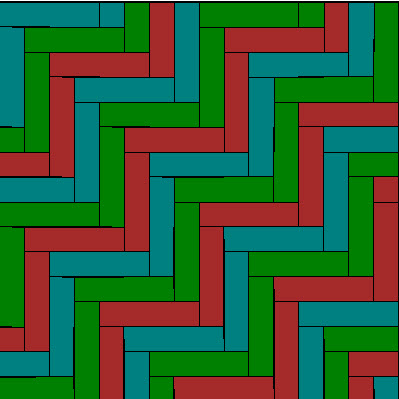 |
|
| HERRING bone with key ends
examples shows herring bones 1m x .25m with the keyValue of 1
This adds a keysquare at the start of the horizontal tile | 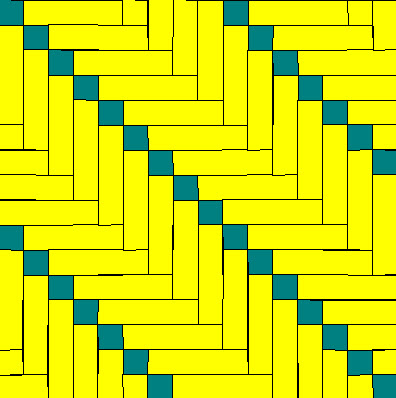 |
|
| HERRING bone with keysquares at each end
(the "2" at the end signifies both ends - changing this "1" would leave a single keysquare | 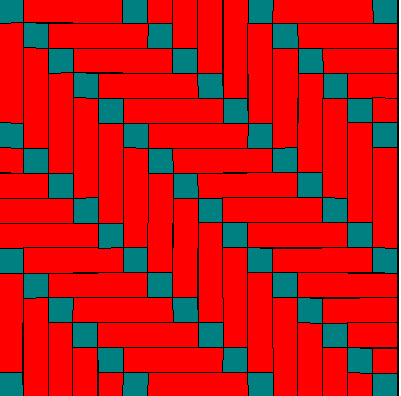 |
|
| HEXAGONAL tile
The single command HEX edgeLength creates the hexagonal grid.
In this example UNITSIZE 1" allows the tile to be created in inches
HEX 14" is NOT allowed - you have to use UNITSIZE | 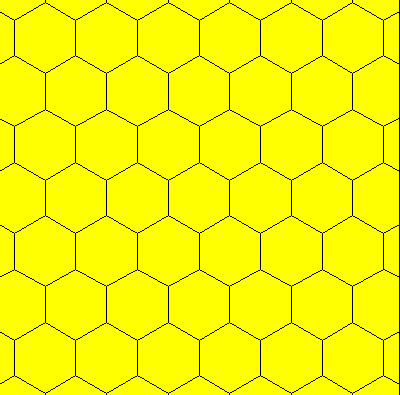 |
|
| Here we have "2 rows and 3 columns" of 14" tiles with colours applied
By changing the grid size and colours a wide range of colour flowing designs can be achieved | 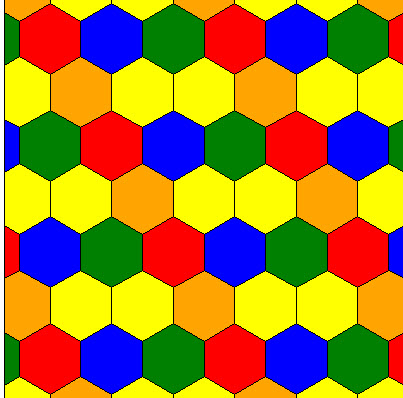 |
|
| A hexagonal tile with a 'border' built with separate tiles
Enter the edge length of the hexagon and the thickness of the border
This is the first option on this design
Although each hexagon is surrounded by 6 border components some of these are shared. If you want to colour the border in you only need to apply COL to the last 4 tiles (as in this example) | 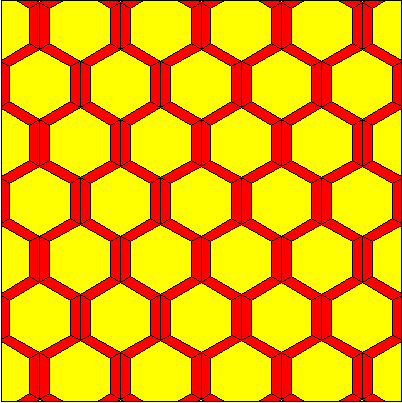 |
|
| If you just want a full border of 6 elements around each tile then change the option to 1 as in this example
Note, that each hexagon is surrounded by 6 separate tiles so the colour application is different than in option=0 | 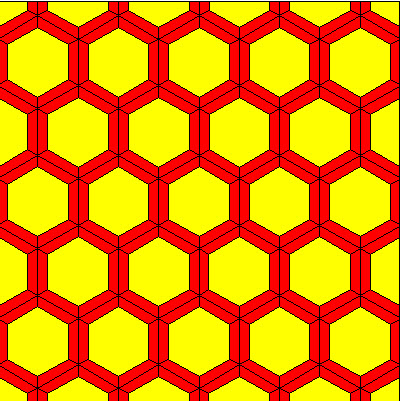 |
|
| Bolon range Wing tile layout 0
This uses the Wing tile in a fixed layout.
All sizes are fixed by bolon
In this layout there are FOUR elements, using colours to show how they lock together | 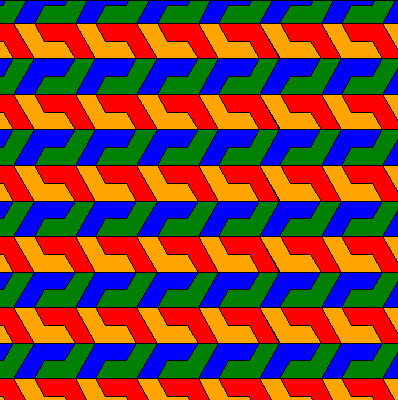 |
|
| BOLON Wing orientation "1"
By adding the option 1 to the command the tiles are re-arranged
Now there are TWO tiles in each grid | 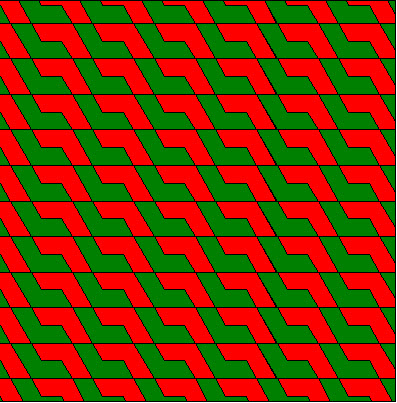 |
|
| BOLON Wing orientation 2
6 tiles arranged to give a 3d effect. | 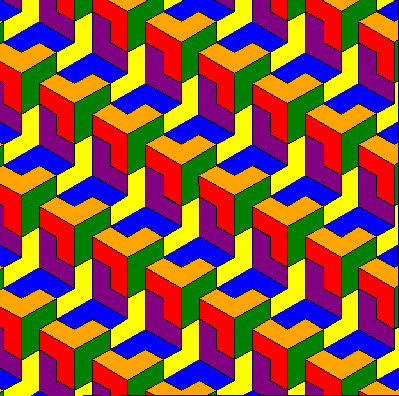 |
|
| BOLON Wing orientation 3
two tiles locked together | 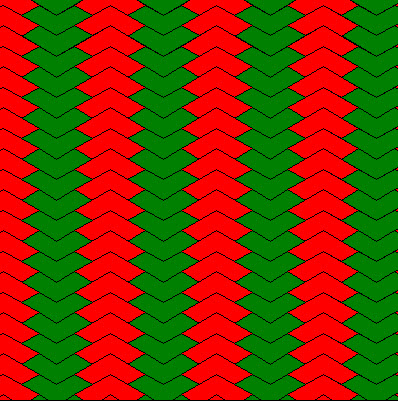 |
|
| Equilaterla Triangle tile
construct a layout using 6 tiles:
Note this is very similar to the HEXAGONAL tile layout except that separate triangles build the hexagon rather than a single solid tile - this allows for greater creative colouring options
The length is the edge length of triangle | 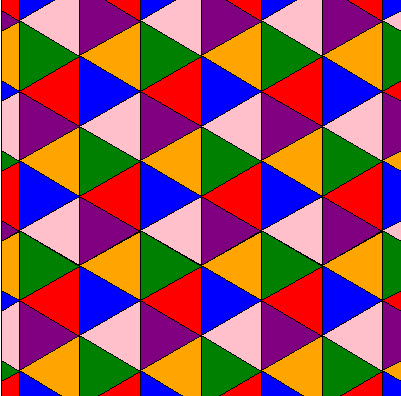 |
|
| Same triangular design but now with 2 rows and 1 column | 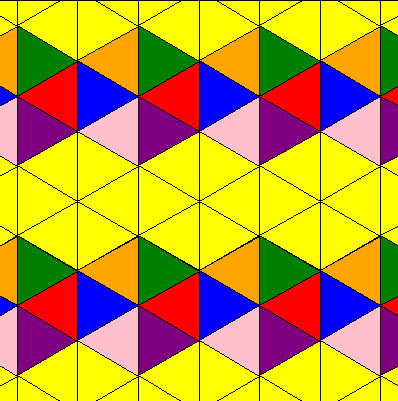 |
|
| BOLON Scale tile (all sizes are fixed by the manufacturer) | 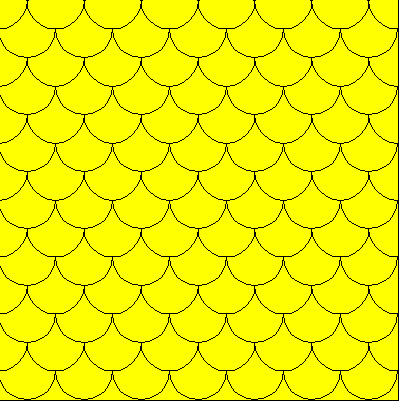 |
|
| SCALE with rows and columns
Adding rows and columns and applying colours creates a different effect from just plain tiles | 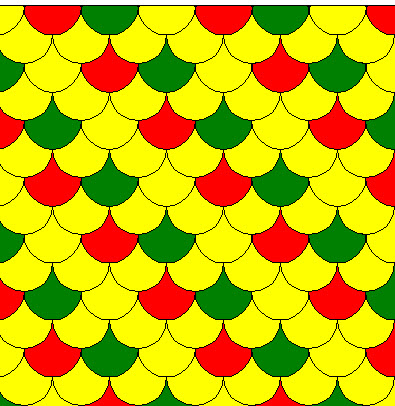 |
|
| BOLON Deco tile
All sizes fixed by the manufacturer
Just a single tile | 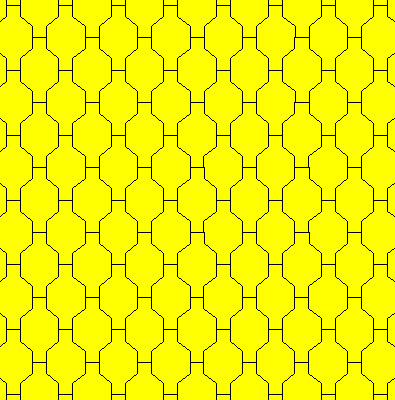 |
|
| BOLON Deco
here there are TWO rows and TWO columns with a single colour added | 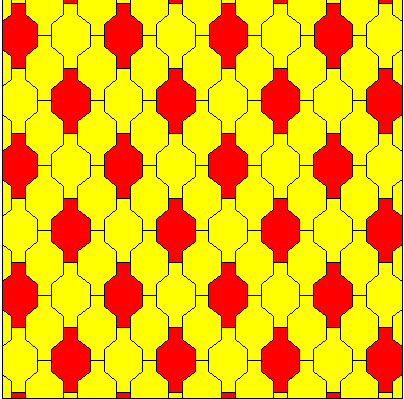 |
|
| BOLON Wave
All sizes fixed by the manufacturer
The basic design involves two tiles, one doing the 'up wave' and one doing the 'down wave'
so when you add rows and cols this pair is copied across and down
by setting up a block of these pairs and applying colours you can achieve a variety of different effects | 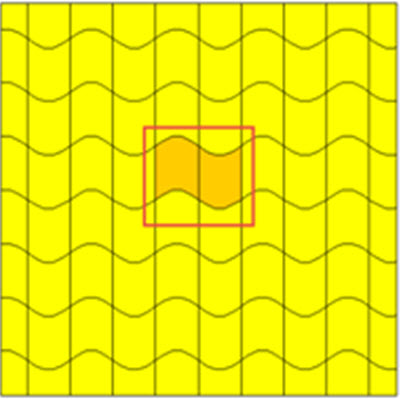 |
|
| BOLON Wave with rows columns
this will multiply by 2 rows and 2 columns
the colours create the different effect | 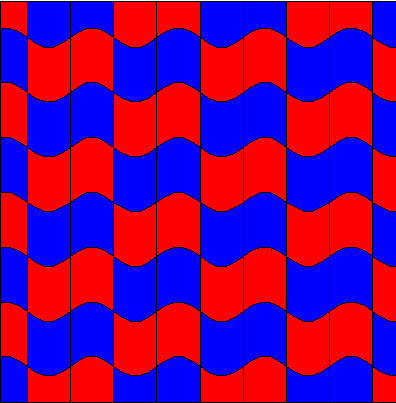 |
|
| BOLON Wave
2 rows but 1 column and the colour effect is totally changed | 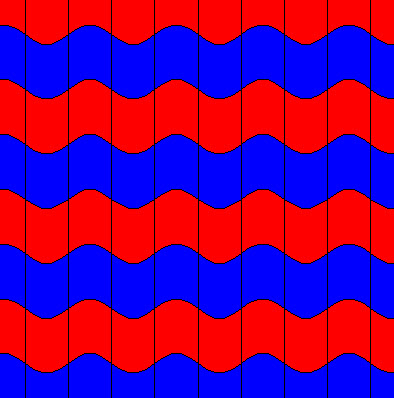 |
|
| cube effect using DIAMOND shape tile
If rows and rows are omitted then a single cube is created with 3 tiles - these can be coloured to enhance the 3d effect.
This example has 2 rows and 2 columns (4 cubes, 12 tiles) | 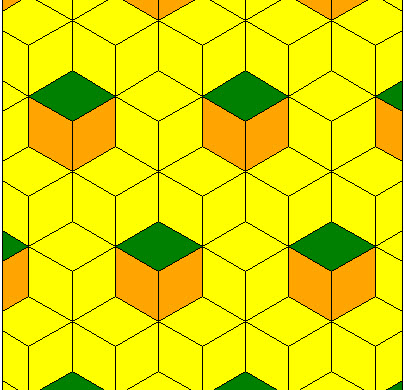 |
|
| Repeating grid using large and small tile with an overal step effect
STEP largeLength, largeHeight smallLength smallHeight
Both dimensions of both tiles have to be entered | 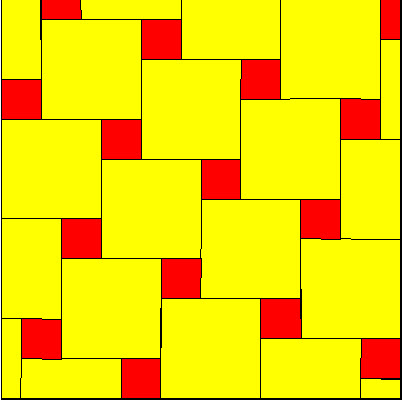 |
|
| Classic keysquare layout
You must enter the size of the main tile but the keysquare is assumed to be square
This command constructs tiles with a simple keysquare feature
In this example the main tile is 1m x 1m with a keysquare of .2x.2
As rows and cols are omitted the keysquare is added at each corners | 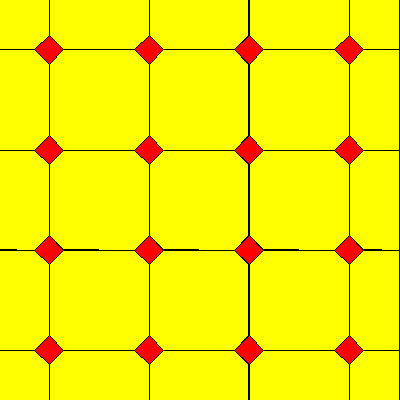 |
|
| Keysquare with rows and columns
By adding values for rows and cols the frequency of the keysquare is controlled. In this example there are 2 rows and 3 columns you can see the keysquares are dropped in every 3 across and 2 down.
If you are applying colours, the keySquare is the first one to be painted.
Here there are 3 rows and 3 columns and keysquare is no longer on each tile | 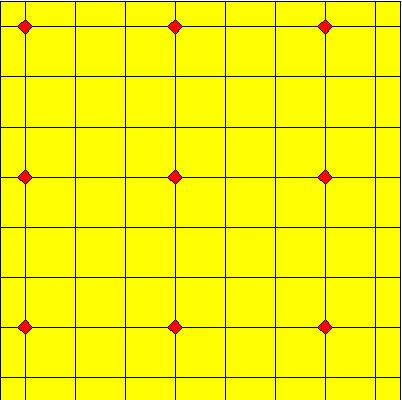 |
|
| PINWHEEL design
uses calculated values
this consists of 5 elements, 4 being 'long & thin' the fifth being the central square tile
Copy this script into Callidus and change the values for len & ht
For example, to use a 36" x 6" tile
unitsize 1"
let len=36
let ht=6 | 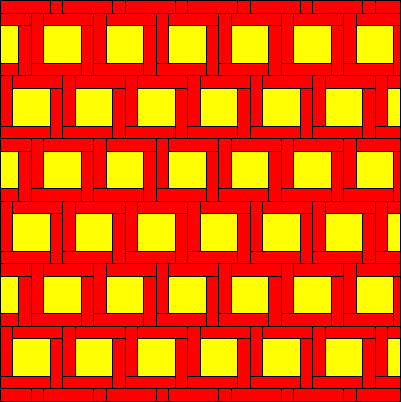 |
|
| Facet tile
This tile size is set by the manufacturer. (Patcraft). If you need a different size change the values of
let long=
let short=
let ht=
The rest of the script will be calculated from those values | 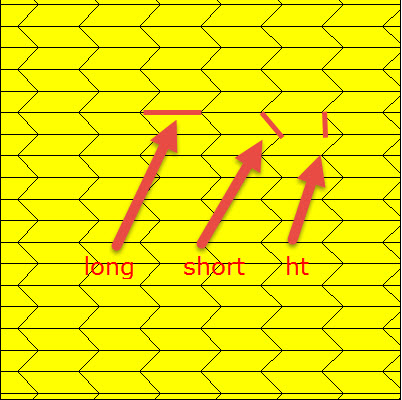 |
|
| Triangular tile (in line design)
THIS DESIGN IS FOR A 24" TILE
Change UNITSIZE or the 'Len' variables to change this to a different size
Using calculations to create a pair of triangles
Trhe corners command creates a shape from pairs of coordinates.
The script below sets up two equilateral triangles and add a single colour to highlight the pair | 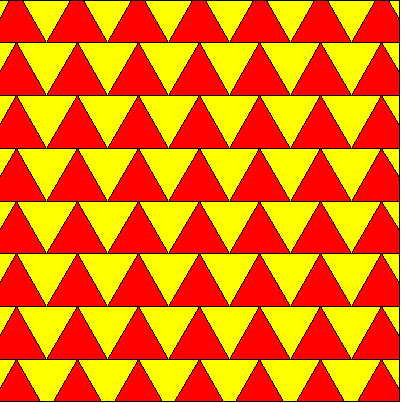 |
|
| Triangular tile (in line design)
this uses a half tile shift between rows
see the line
rep len ht LEN/2 | 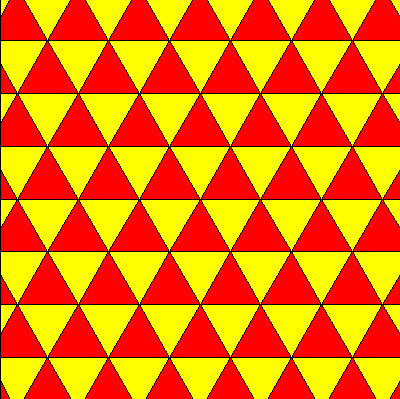 |
|
| 'random' plank design
Built from 10 tiles stacked vertically with a random offset | 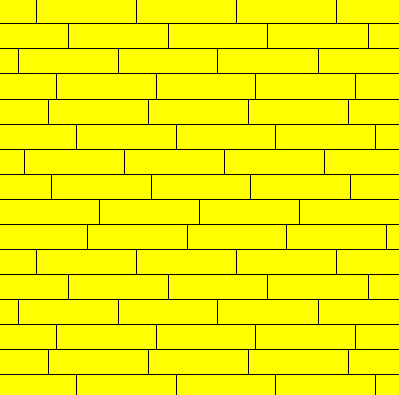 |
|
| random plank with colours applied
shows that there are 10 tiles in the repeating block | 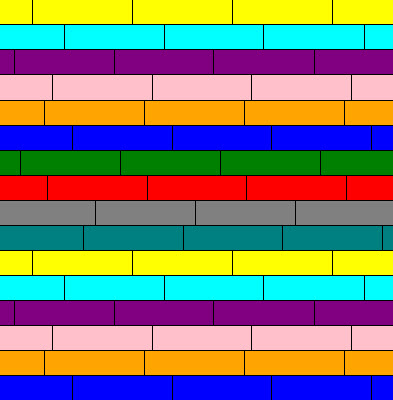 |
|
| Solus "Stealth" ceramic tile
Change len and height for different size element, the rest of the design should scale accordingly | 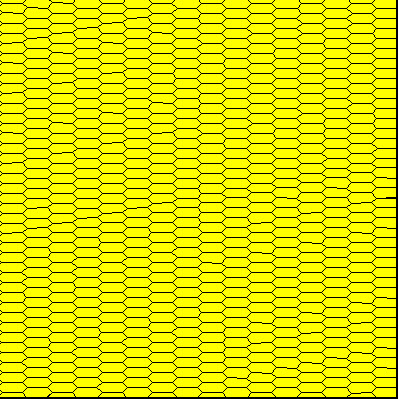 |
|
| Uses RTILE to create a row of 10 tiles each 1m x .25m
then turns this into a herringbone design.
Use this to fill a room with a single herringbone 'join' down the centre of the area.
If the room is larger increase the number of tiles in the row.
As the number of tiles increases the time taken to generate the grid also goes up so don't add too many to begin with | 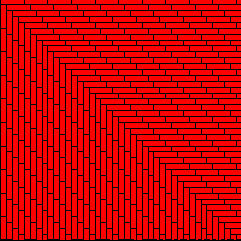 |
|
| 3d cube with a square face
all edges are 50cm in this script (alter unitsize to change) | 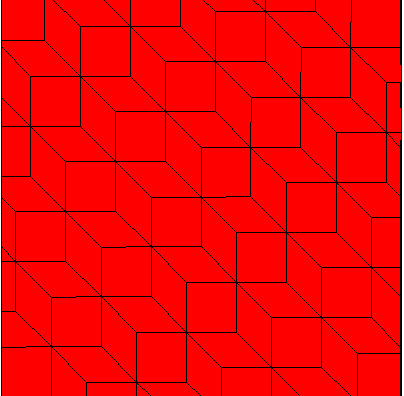 |
|
| offset herringbone | 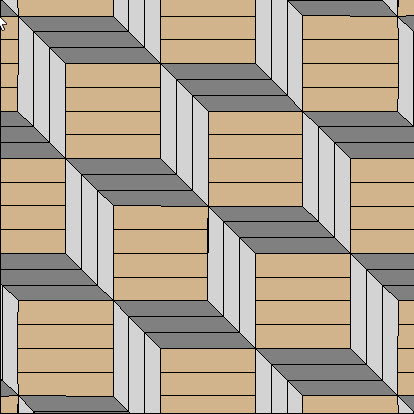 |
|
| Patcraft Dichroic |  |
|